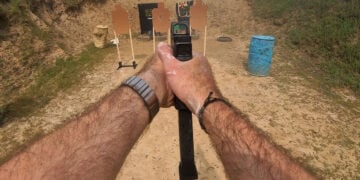
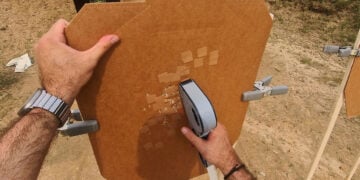
For the next several months I’ll be doing training in Utah and Nevada, and lately I’ve been spending a great deal of time in Southern Utah near Bryce and Zions Canyon. The best part about being out in this “wide open” country is that the city shooting range is at the bottom of a mountain and anyone can go shoot whenever they want.
In other words, it’s a free public range. You don’t have to pay any range fees. There are no range officers around. It’s up to the public to be responsible, which is the way it should be. Quite frankly, this type of shooting range is a little slice of heaven and is a good change from the NRA shooting range that I usually go to in Northern Virginia. (It seems there’s always an hour and a half wait at the NRA range and the majority of the range officers they employ need a lesson in customer service.)
The thing is, since the range I’m now going to is a public range at the bottom of a mountain, there is literally nothing there. You have to bring your own targets and target stands.
When I found this out, I quickly went online and searched for a portable target system…

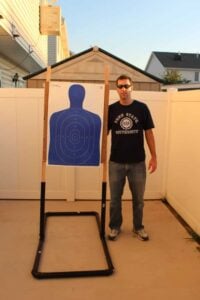
A simple enough one popped up and I decided to build it with a slight twist. So here’s the target stand that I built and here’s everything you need to build one too. It really is simple. I promise if I can build it, so can you, since I’m extremely “un-handy.”
First, go to Home Depot and buy eight pieces of black ABS pipe that are each 1.5 inches x 24 inches long. Home Depot has these already pre-cut so you can grab them and go (like I did). Or, you can buy a long piece of the pipe and cut it yourself.
Next, you need two “Tees.” These connect the pipe that holds up the target. In other words, the “Tees” connect the two pieces to the stand, which hold the furring strips (more about these in a second.) After that, you need four “Elbows” to connect the pipes to form a square. And lastly, you need two wooden furring strips that are 58 inches long. (They come longer than this so you’ll have to cut them down a bit.)
Here’s the layout of needed materials again in an easier to read format:
- 8 pieces of ABS pipe that are each 1.5 inches x 24 inches
- Two connector “Tees”
- Four “Elbows”
- Two furring strips that are 58 inches long
After you have those items it takes about 30 seconds to put the target together. Once it’s together you simply staple up cardboard and a target. Since I know the directions were likely a bit confusing, see the picture I took to get a better idea of what the finished product should look like. It will cost you less than $40 in supplies from Home Depot and then you’ll be all set to shoot at “rural” shooting ranges should you ever find yourself out in the country.


